Installing Minikube on Windows and Creating a Cluster Locally using Minikube
Use the following command to install Minikube on Windows using Powershell:
>_New-Item -Path 'c:\' -Name 'minikube' -ItemType Directory -Force
>> Invoke-WebRequest -OutFile 'c:\minikube\minikube.exe' -Uri 'https://github.com/kubernetes/minikube/releases/latest/download/minikube-windows-amd64.exe' -UseBasicParsing
After Minikube has been downloaded, the directory where it is been installed will be displayed:
>_Directory: C:\


Mode                 LastWriteTime         Length Name
----                 -------------         ------ ----
d-----         3/19/2022  12:06 PM                minikube
Next, use the following command to add the binary to your path:
>_
$oldPath = [Environment]::GetEnvironmentVariable('Path', [EnvironmentVariableTarget]::Machine)
if ($oldPath.Split(';') -inotcontains 'C:\minikube'){ `
  [Environment]::SetEnvironmentVariable('Path', $('{0};C:\minikube' -f $oldPath), [EnvironmentVariableTarget]::Machine) `
}
After adding the Minikube binary path, close PowerShell and then open it again using administrator mode whenever using Minikube in the next section.
Use the following command to check if Minikube has been installed successfully:
>_$ minikube versionIf Minikube has been installed successfully you will get the version number as the output:
Outputminikube version: v1.25.2
commit: 362d5fdc0a3dbee389b3d3f1034e8023e72bd3a7
Creating a Cluster Locally using Minikube
Use the following command to start a cluster:
>_$ minikube start The above cluster will set Hyper-v as the default driver if you are using Windows. However, you can specify your desired driver using the --driver flag and add Docker as your driver:
>_$ minikube start --driver=dockerWhen Minikube is creating the cluster, it will give you the Minikube version information installed on your computer and the Windows build. This information is critical if your want to use the Windows hyper-v as your driver because not all Windows versions have the hyper-V driver installed or enabled:
Output* minikube v1.25.2 on Microsoft Windows 10 Pro 10.0.19042 Build 19042
  - KUBECONFIG=C:\Users\VET KASI PHONE GSM.kube\config
If you are using an old version of Kubernetes, please go ahead and update it.
Output* Kubernetes 1.23.3 is now available. If you would like to upgrade, specify: --kubernetes-version=v1.23.3This tutorial uses the hyper-V driver as the driver but you can also use the following tools as your driver:
- Docker
- VMware
Output* Using the hyperv driver based on existing profileMinikube will go ahead and install all necessary cluster resources needed to start and run the cluster which are: a VM boot image with a version of Kubernetes preloaded.
The process will take roughly 6 minutes but this will vary depending on your internet speed and computing processor.
After the cluster has started successfully you will be prompted with the following message:
Output
* Done! kubectl is now configured to use "minikube" cluster and "default" namespace by default
Use the following command to check your Kubernetes cluster status:
>_$ minikube statusYou will the following output:
Outputminikube
type: Control Plane
host: Running
kubelet: Running
apiserver: Running
kubeconfig: Configured
Use the following information to get information about pods:
>_$ kubectl get po -AYou will get the following output:
OutputNAMESPACE     NAME                    READY   STATUS   RESTARTS    AGE
kube-system   coredns-64897985d-8r2n8   1/1   Running  0           20m
kube-system   etcd-minikube             1/1   Running  0           21m
kube-system   kube-apiserver-minikube   1/1   Running  0           20m
kube-system   kube-proxy-zgzcf          1/1   Running  0           20m
kube-system   kube-scheduler-minikube   1/1   Running  0           21m
kube-system   storage-provisioner       1/1   Running  1 (19m ago) 20m
Using the Kubernetes Dashboard
The Kubernetes dashboard is used to display your Kubernetes cluster and application’s metrics. This metric is very useful when analyzing the health of your cluster.
Use the following command to display the Kubernetes dashboard:
>_$ minikube dashboardIt will open the following URL on your default browser:
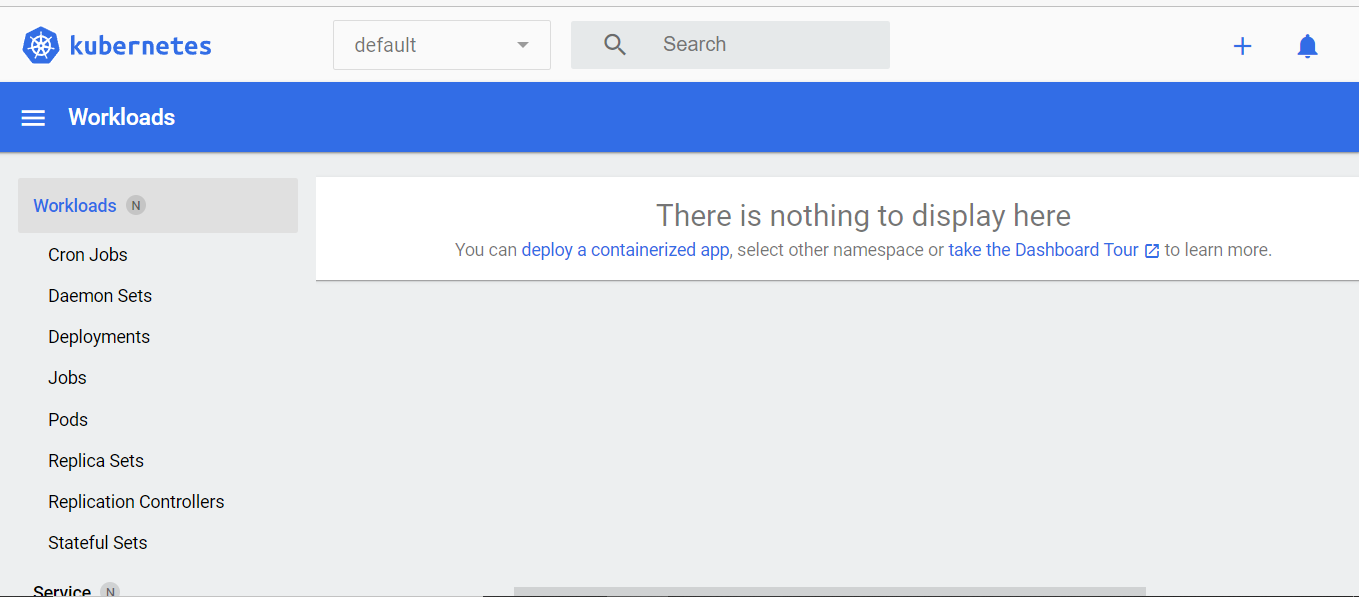
>_* Opening http://127.0.0.1:3251/api/v1/namespaces/kubernetes-dashboard/services/http:kubernetes-dashboard:/proxy/ in your default browser...Since you have not created any object there will be no details displayed until you created an object:
To get a functional dashboard, go ahead and create a service and deployment using the following command:
>_$ kubectl create deployment hello-minikube --image=k8s.gcr.io/echoserver:1.4
$ kubectl expose deployment hello-minikube --type=NodePort --port=8080
You will get the following output:
Outputdeployment.apps/hello-minikube created
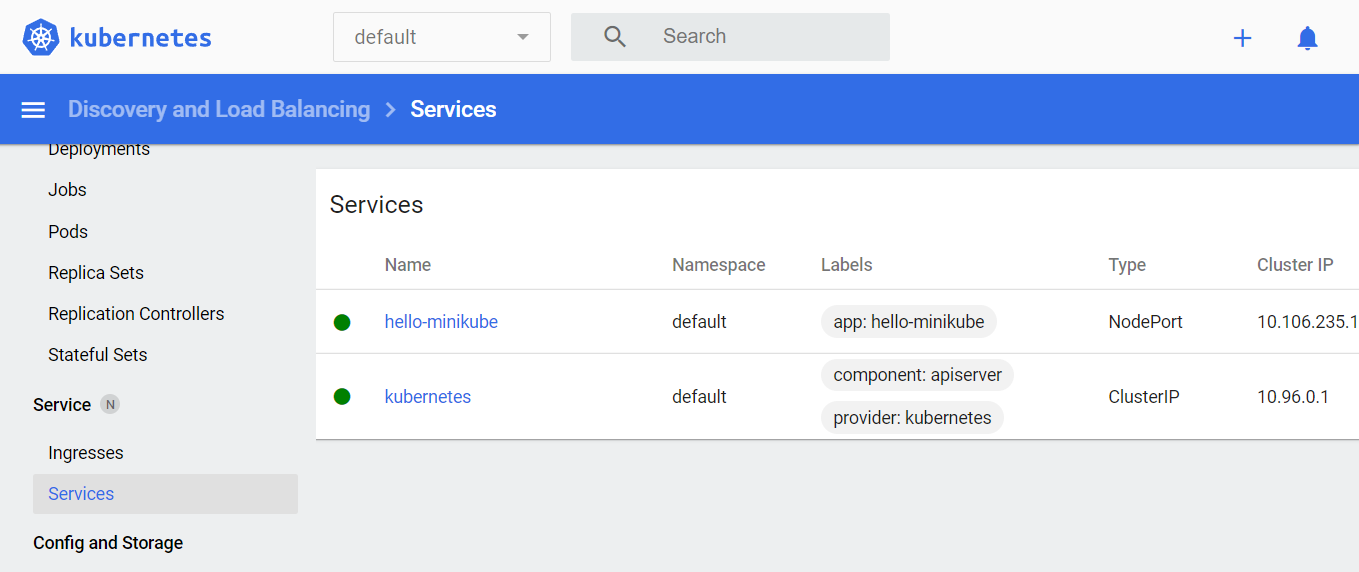
service/hello-minikube exposedCheck if the service has been created successfully:
>_$ kubectl get services hello-minikubeYou will get the following details:
Output
NAME        TYPE       CLUSTER-IP    EXTERNAL-IP   PORT(S)         AGE
hello-minikube NodePort 10.106.235.150   <none>   8080:30320/TCP   6m53s
Once deployed the Kubernetes dashboard will be filled with the deployment and service created information:


Comments
Post a Comment