ERPNext
Introduction
ERPNext is an Enterprise Resource Planning (ERP) suite that leverages the power and flexibility of open-source technologies. It excels at managing core business processes such as finance, sales, human resources, manufacturing, purchases, services, helpdesk needs, and more. Among the benefits of implementing a system like ERPNext are:
- Better productivity by automating repetitive business processes
- Improved IT efficiency by sharing a database for all departments within the company
- Better decision-making thanks to an integral vision of how business units relate to each other
ERPNext is based on Frappe, a full-stack web application framework written in Python that takes full advantage of the Node/JavaScript runtime environment and uses MariaDB as its database backend. One of the many advantages of Frappe-based applications, like ERPNext, is the bench command-line utility. The bench CLI saves administrators time by automating tasks such as installing, updating, configuring, and managing multiple Frappe/ERPNext sites.
In this tutorial you will install and configure an ERPNext stack on one server running Ubuntu 20.04. This will allow you to configure your stack for various development or production environments depending on your needs, and it will prepare you to build a more complex, fault-tolerant architecture.
You have to complete previous blog installation steps:
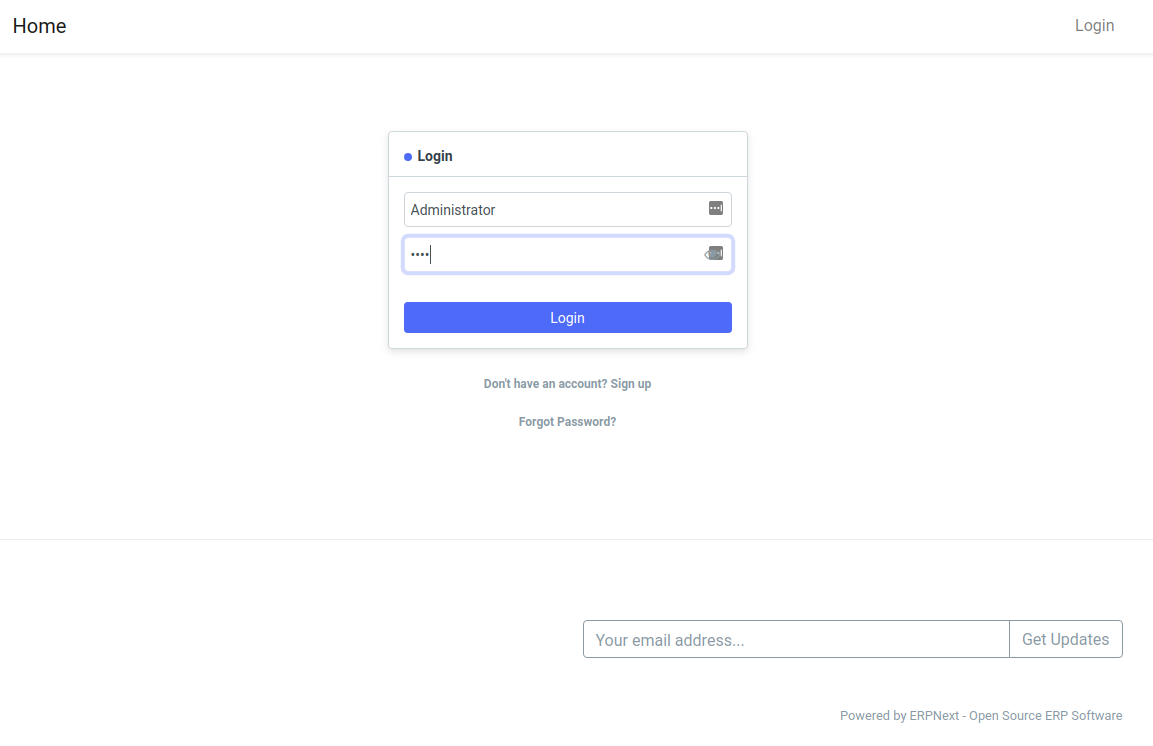
After confirming that everything is working as expected, you can test ERPNext 12 live on your server. Open your favorite browser and navigate your_domain, or whereever you are hosting your ERPNext 12 application.
After a few seconds, you should see the ERPNext 12 login screen. Use Administrator for the username (email) and the erpnext_admin_password you created previously for the password.
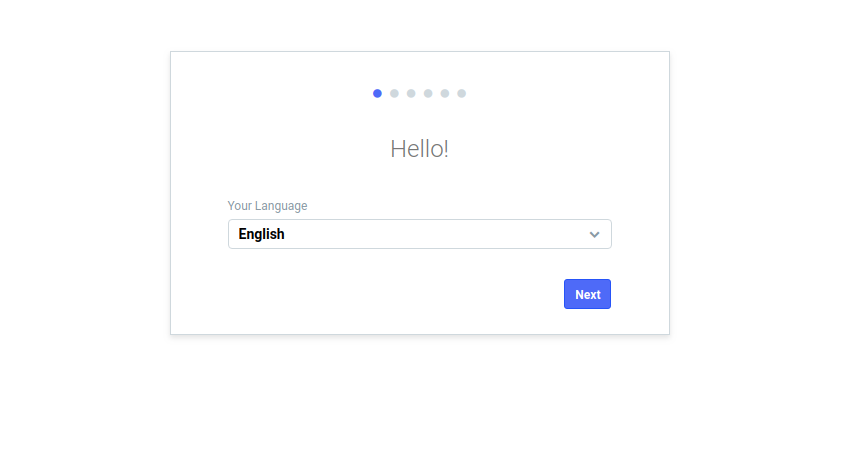
In the next screen you will see a dropdown menu where you can select the UI language for the application:
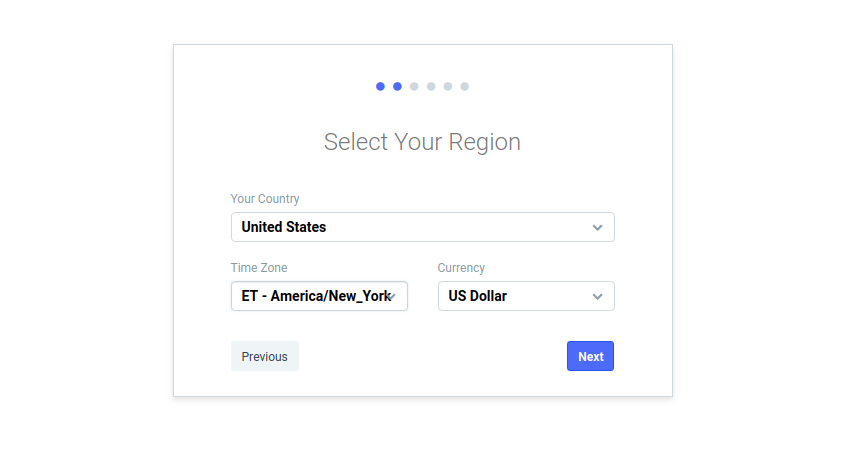
Following language selection, ERPNext will prompt you about your country, timezone, and currency:
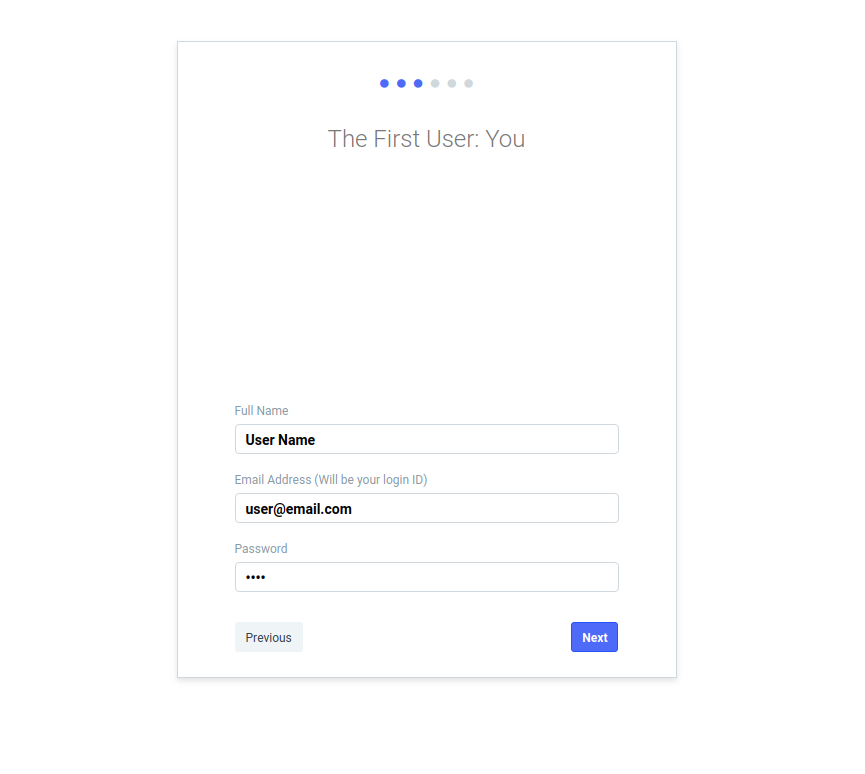
Once you complete your region information, you will be able to create your first ERPNext user. The information you provide will be used as the user’s login credentials.
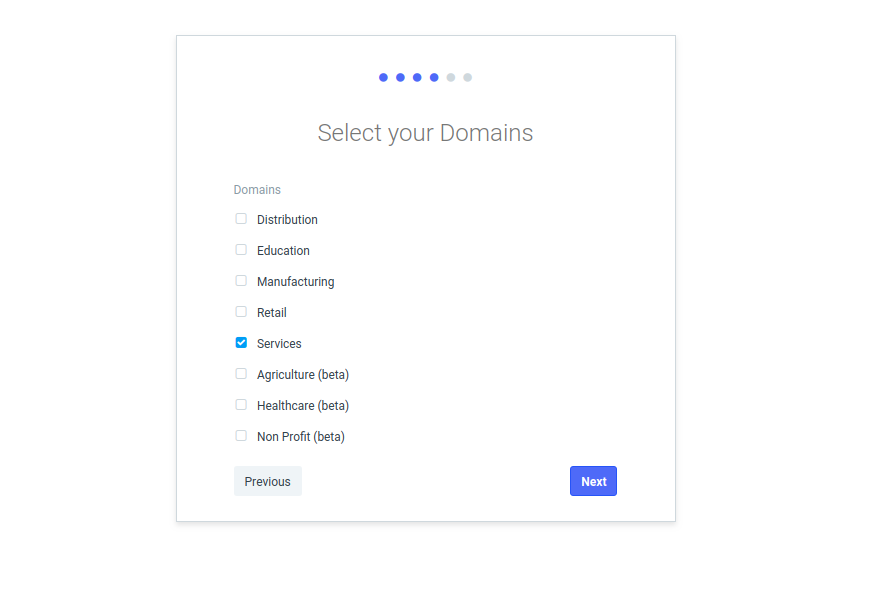
In the next screen, you will be asked about what ERPNext calls Domains. If you are not sure what your domain is, then select Distribution and click the Next button.
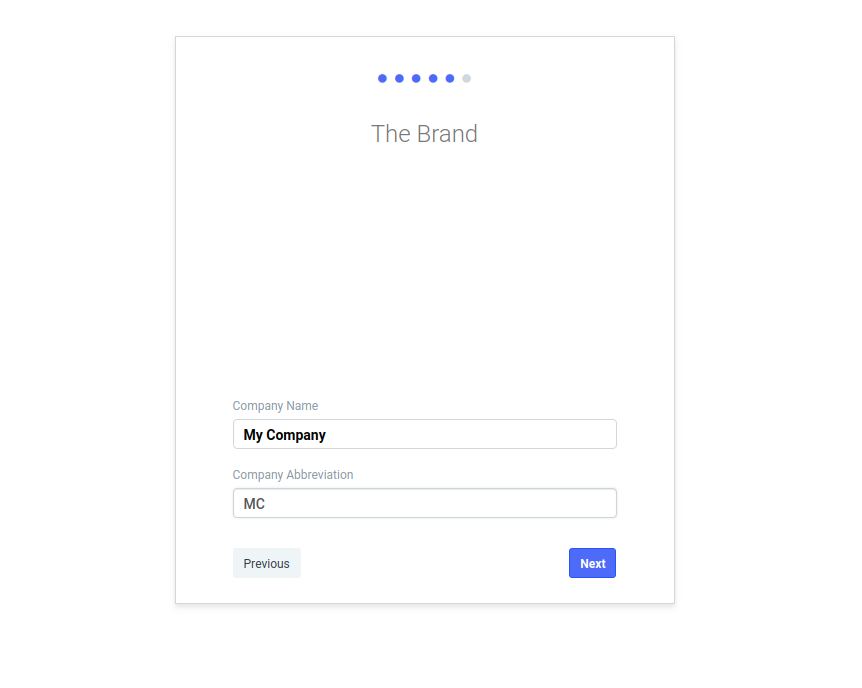
Next, you will need to provide a company name and abbreviation.
On the last screen, ERPNext will ask you what your company does, its bank name, the type of charts of accounts, and the fiscal year period. You will be able to enter additional banks later. For now, fill in all the fields as you like and then click the Complete Setup button.

Next, you will see a progress bar.

Once the setup process completes, the ERPNext 12 main Dashboard will appear.

You now have fully installed and configured an ERPNext 12 application.
Conclusion
Now that you have properly installed your ERPNext 12 application, you might want to start implementing the system for your business needs. A good starting point is clicking the Getting Started button on the ERPNext Dashboard. ERPNext will then help you configure the platform for all your business and e-commerce needs.


Comments
Post a Comment